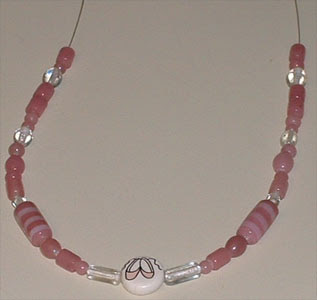
When we first started our website, we were taking photos with a fujifilm finepix (this was several years ago) in standard indoor lighting on a counter, or a counter covered with a t-shirt. The photos were very plain and utilitarian. In the pictures below, you can see the jewelry fairly clearly, but not in great detail, and it doesn't "jump out and grab you" like the jewelry would in person.
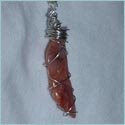
The next change in our photo setup was to take pictures with a newer camera (a canon powershot a-510) in a completely dark room with the flash on. The resulting photos were better, but, like the one below, looked washed out and tended to have noticeable "hot spots".
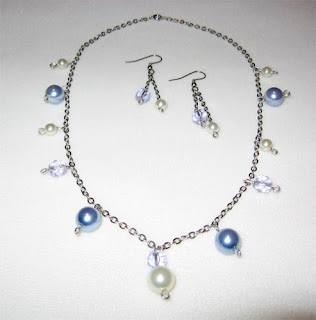
About this time, we found a great forum of fellow jewelry artists who suggested creating a studio or lightbox. We thought this would probably be more money and more trouble than it was worth but a few of the artists said that the $5 jewelry studio setup actually worked quite well.
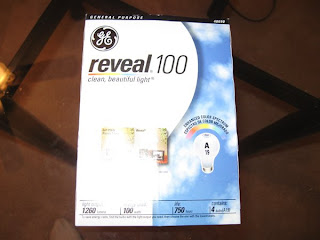
As a result, we decided to take on the challenge of creating a light box. It's simple enough--it's just a clear rummbermaid/sterilite/tupperware style box that you take outside in the sunlight. We often weren't able to take pictures during the day, and room lighting wasn't doing enough, so on someone's suggestion, we got clip on aluminum lamps (available at any hardware store), and 100 watt "natural light" bulbs.
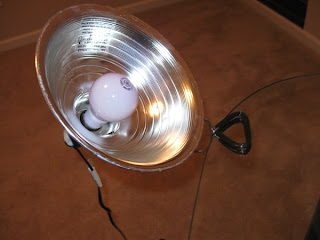
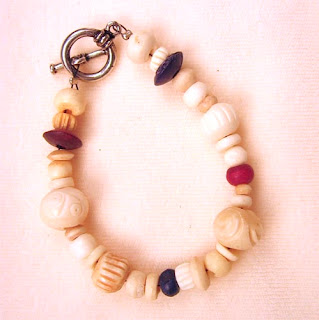
At first we had problems with this setup because the light would flow in over the top of the box and we ended up with a lot of pictures like this:
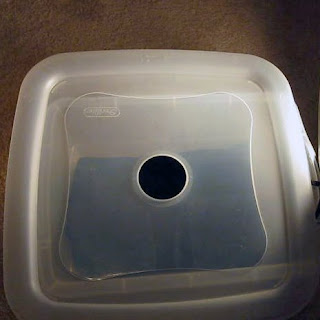
Thanks again to our forum friends, we found this information filled video on photographing jewelry. Unfortunately, the tutorial suggested things involving power tools that we did not have. So, Hillary went to a local wal-mart to see if we could somehow adapt the ideas in the tutorial to our situation. As luck would have it, Sterlite was, at the time, making a container with a hole in the lid. The whole point of the power tools in the tutorial was to make a container with a hole in the top, so the lid was perfect for our purposes.
Once we used the box above, we started getting photos like this:
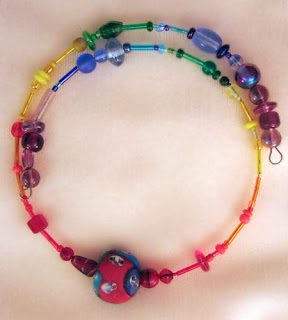
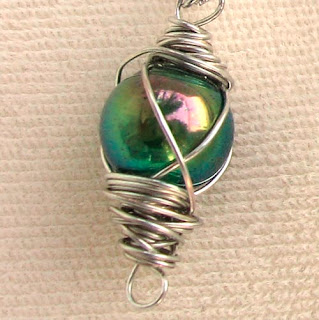
You'll notice these are much clearer, detailed and brighter, but you might also notice some unevenness in the lighting, especially in the first picture. This was because clipping the lights to the table only lit the pictures from the bottom and sides. It took us a long time to figure out this issue but last month we added one more thing to the set up: A wine rack. Hillary only ever uses a wine rack for about 3 months out of the year during the winter holidays, so she thought we could put it to better use during the rest of the year.
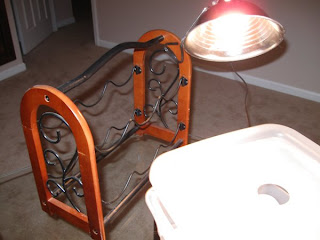
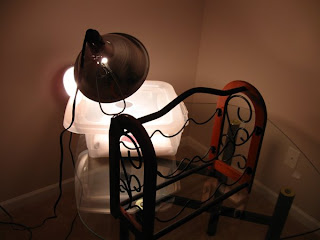
Here are some photos we recently took with this setup (note that the background fabric is different in these than in the others on this page). In case you were wondering, we now have a canon powershot a-590.
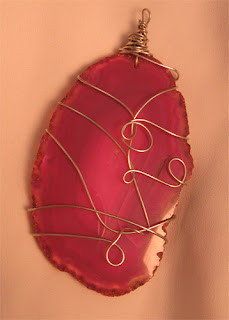
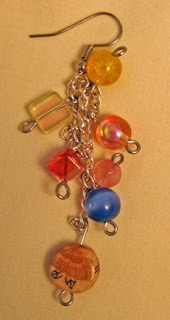
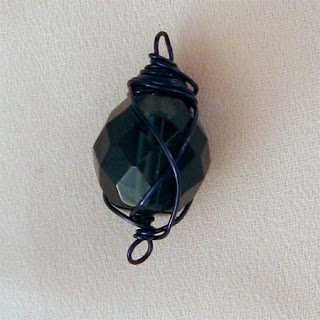
Clipping one light on the the top of the wine rack and one on the table makes the appearance of these photos much more even and much less shadowy. We're pretty happy with the setup now. The only foreseeable change would involve the Easter Bunny bringing us a camera or two.
P.S.: look for the last piece to be listed on our etsy this weekend.


No comments:
Post a Comment